
Would you like to know how to build a 12V trickle charger at home? Well, in this article we provide easy steps to follow. Slap together a DIY charger from cheap materials to save money and preserve your batteries. Great for car, motorcycle and boat batteries – ideal for newbies!
What is a 12V Trickle Charger?
Understanding the Basics of Trickle Charging
Trickle charger or continuous battery charger is a style of battery charger that works for an extended time to keep the battery fully charged on a continual basis. While normal chargers will provide a bulk current over short period of time, a trickle charger provides low and steady charge to maintain 12V batteries (used in cars, motorcycles etc) so that they stay optimal without being overcharged. This is especially useful for infrequently used vehicles as it keeps the battery topped off and prepped for when you want to use it.
Advantages of Trickle Charging for Battery Longevity
A trickle charger is designed to prevent your battery from draining and in turn, prolongs the life of your battery. Charging regularly ensures that you will not have an unexpected dead battery. A DIY trickle charger makes sure your battery is always in top form and lessens how often you have to replace it, making the whole system much more reliable.
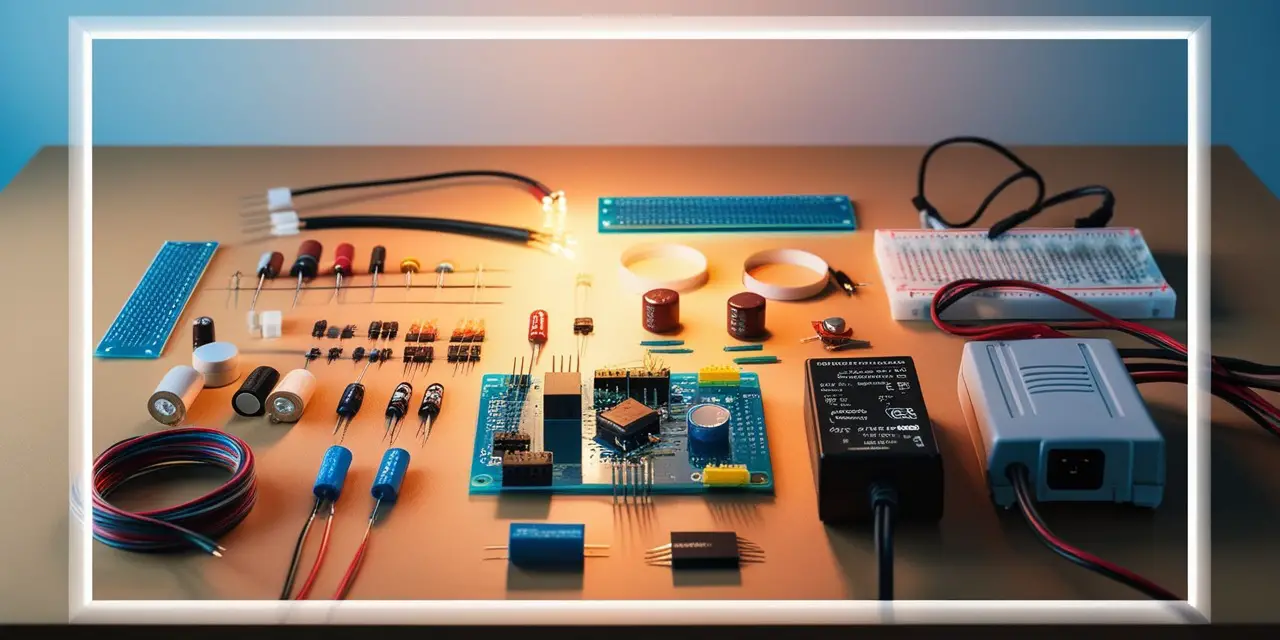
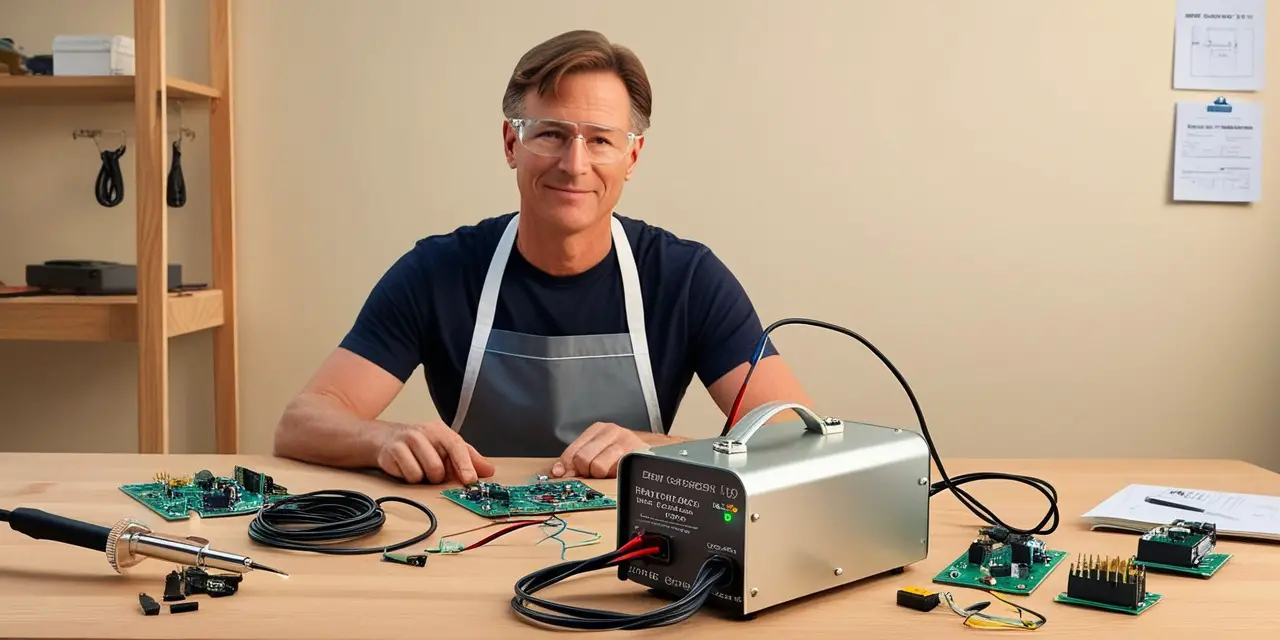
Materials Needed for Building a 12V Trickle Charger
Essential Components for the DIY Project
A few things are needed to build your own 12V trickle charger. Some other required stuff are a 12V DC power supply, lead to resist the current, a diode for protection purpose, connecting leads and connectors and multimeter to check your setup. These are the primary components that we would need to build in order for our homemade charger to be usable safely and efficiently.
Tools You’ll Need
Collect a few essential tools before you embark on your project. Wire cutters to cut and adjust your wires, a soldering iron for connecting components, and some electrical tape to wrap around the connection. If you dont know where to get these materials, feel free to stop by at your local electronics shop or simply buy them in platforms such as Amazon which have wide range of diy supplies.
Step-by-Step Guide to Making a 12V Trickle Charger at Home
Step 1 – Preparing the Power Supply
Find a proper 12v dc power supply Choose one that has a steady voltage output, as well as can supply the necessary current rating of your battery type. After selecting it, assemble the power supply by tightening all connections and insulating them to ensure there is no risk of electric shock while using it.
Step 2 – Adding a Resistor and Diode for Safe Charging
Then, add a resistor and diode to your circuit. This resistor will avoid a wild current flowing to the battery, since it is now in trickle charging. This diode is a protection, to prevent the reverse current from flowing back which might damage your battery or charger. Solder those components into place ensuring that they are all connected the right way to the power supply.
Step 3 – Assembling the Charger with Wires and Connectors
You have your components ready, now you need to put together your charger. Connect the power supply, resistor and diode with connecting wires, and then connect the connectors to their ends. Tape them all up with electrical tape, and make sure that there are no crossed cables, as this could affect your charger.
Step 4 – Testing Your Trickle Charger with a Multimeter
Always check the voltage of your trickle charger with a multimeter and ensure that this is correct before using it to trickle charge a 12v battery. Optimal is a reading that is just above 12 volts. If the voltage is higher or lower than expected, check your connections and values very carefully because it should work fine.

Important Safety Tips for Using a DIY Trickle Charger
Avoiding Overcharging
Extended overcharging can destroy a battery and eventually result in shortened battery capacity. You should avoid overcharging it, meaning that you must check the level of the charge from time to time and disconnect the charger as soon as it’s full. A timer or smart plug can also be used to automate this process meaning you will never forget to unplug your charger after your device is charged.
Working with Electrical Components Safely
Be very careful with electrical components. Use safety goggles, gloves, and ensure you are in a well-ventilated area to be on the safe side. To reduce the risk of electrical fires, ensure that all connections are properly inserted before plugging in your charger, and keep it away from flammable items.
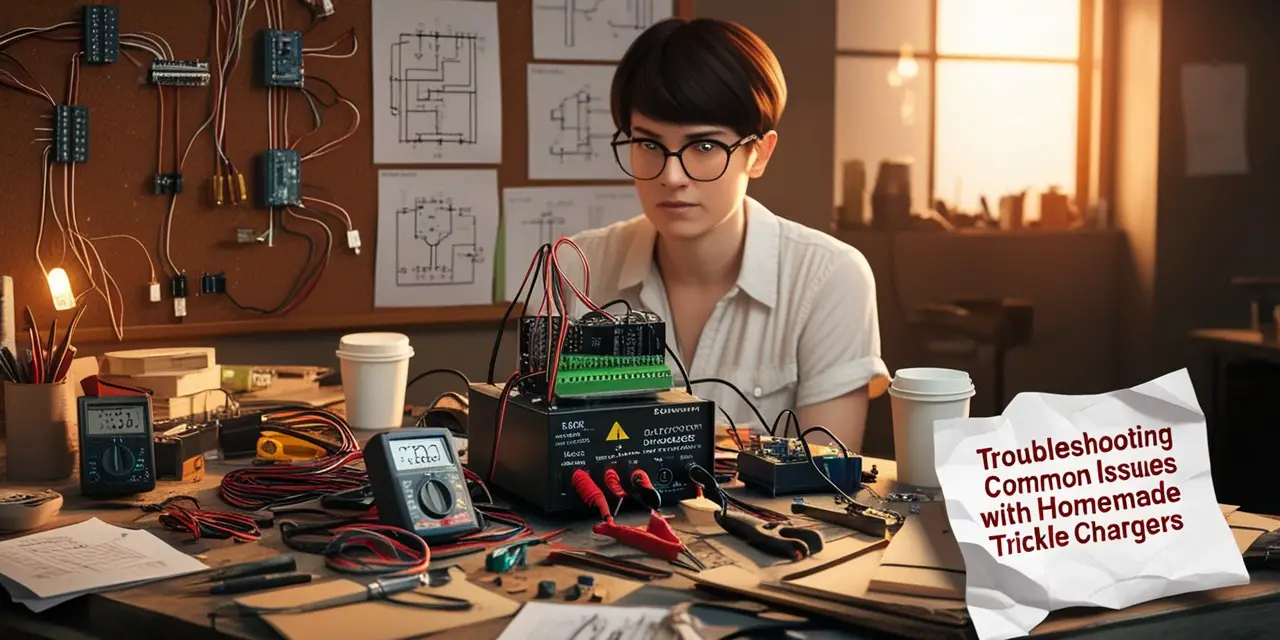
Troubleshooting Common Issues with Homemade Trickle Chargers
Charger Not Providing Output
If your charger isn’t delivering the expected output, check for loose or disconnected wires. Ensure that all components are soldered correctly and that the power supply is functioning as intended. A faulty component or incorrect wiring can often be the source of such issues.
Overheating of Components
Overheating is a common problem that can occur if the current is too high or if components are not adequately rated for the power supply. Verify that your resistor is of the correct value and that your diode can handle the current. Adding a heat sink or increasing ventilation can also help manage component temperatures.
Frequently Asked Questions (FAQs)
Is it safe to leave the trickle charger connected all the time?
Trickle chargers are made to be left connected for long periods of time, however it is still good practice to monitor the battery charge and disconnect the charger once it is fully charged to avoid overcharging.
What’s the difference between a trickle charger and a regular charger?
Trickle chargers are low and continuous in voltage to keep the battery healthy while regular chargers are high current bateries that can quickly recharge a discharged battery.
How long does it take to charge a 12V battery with a trickle charger?
The time this takes varies depending on the battery capacity and the charging current from the charger. A trickle charger usually will take several hours to bring a nice dead battery to a full charge.
Conclusion
Making your own 12V trickle charger is a great way to save money and gain some knowledge in electricity. With this guide, you can produce a charger that will be in help with your battery maintenance tasks while improving your DIY abilities. If you want to dive deeper into battery care and maintenance, maybe try taking your hand at one of the type related DIY projects such as battery desulfators or solar-powered chargers. Happy tinkering!


Understanding The 3 Pin XLR E-Bike Charger - Charging Charger
[…] and reduces the probability of hurting your eBike battery. A secure connection is needed for the efficient charging, and the 3 Pin XLR gives this every […]