
Step right up to find out how to safely manage a broken ios device and more specifically, how to fix an ipad without inflicting wounds to it. With our step by step practice everybody is able to safely operate with a broken tip of difficule to charge ipads. Look for simple quick help today.
Introduction
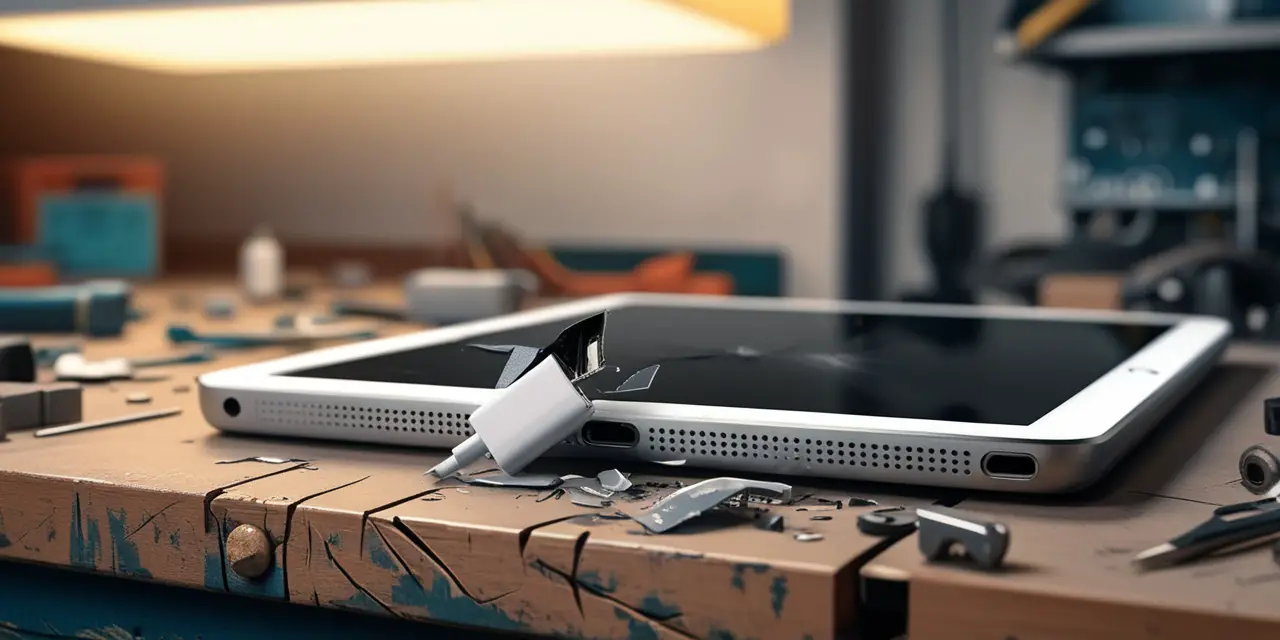
All of a sudden, while about to charge the iPad, it is already noticed that there is some resistance. Upon removing the charger, one would be surprised to find the tip remains lodged inside the port. Such type of issues is very common and irritating for all iPad users and tech junkies around the globe. So good news! You don’t need to panic; you have not made a mistake and there is a solution for this problem and in this case, it’s not about DIY solutions only. This guide will present every aspect of dealing with iPad charger that has broken inside its port, offering a range of practical solutions while advising on when to seek professional assistance.
The Importance of Addressing the Issue Early
A charger that is broken if ignored can cause many complications. It helps recharge the iPad which is fundamental for everyday use and it can also bring about internal impairment. Fragments of metal that may be stuck inside the port could be injuring the fine connectors causing the need for an expensive repair. If the concern is dealt with at the correct time, very little damage is done and your device remains functional, even in cases when the professional assistance may be sought later.
Moreover, having your iPad broken also means no more emails or no more meetings or for that case new games updates. Such a travesty can interrupt both social and work life for the worst, particularly for the people who depend on devices. Restoring the concern in such a manner brings back order in your life and peace in your heart since you are able to connect without being interrupted all the time.
Last but not least, by resolving the problem as early as possible, you also enhance the life of your favorite device that is dear to you. It is hard to be prepared for any situation and therefore regular and appropriate updates and repairs are essential to ensure that the gadgets do not sit ideal in the events of problems in the future and cut the expenses.

Step-by-Step Guide to Fixing the Issue at Home
Many people have naively come to the conclusion that repairing a device is not worth the trouble. However, the process of resolving a problem of a faulty charger can be easy when adequate precautions are taken. Here’s how:
- Safety First
Always keep the iPad off before any attempts to repair it are undertaken to prevent electric shocks or further damage. Shine a torch on the port and see if the broken piece is stuck inside. This step is important so that it doesn’t come as a surprise as to what the problem is and how you want to go about resolving it.
- Gather Your Tools
You will require great precision tools like a pair of tweezers, a pin or a toothpick. These retails can assist in pulling out the broken metal piece with a gentle force. It is important to remember to be calm because you will need it. If there is a rush, that might result in the piece being pushed even deeper into the system which will be inconvenient.
- Carefully Remove the Broken Piece
Slightly push the tool into the port and rotate and hook it so it touches the metal tip area. A steady hand coupled with a smooth touch will work wonders. Avoid using too much to avoid damaging the internal connections of the port. If successful, gently yank the tool and the broken piece of metal should come off as well.
- Alternative Charging Solutions
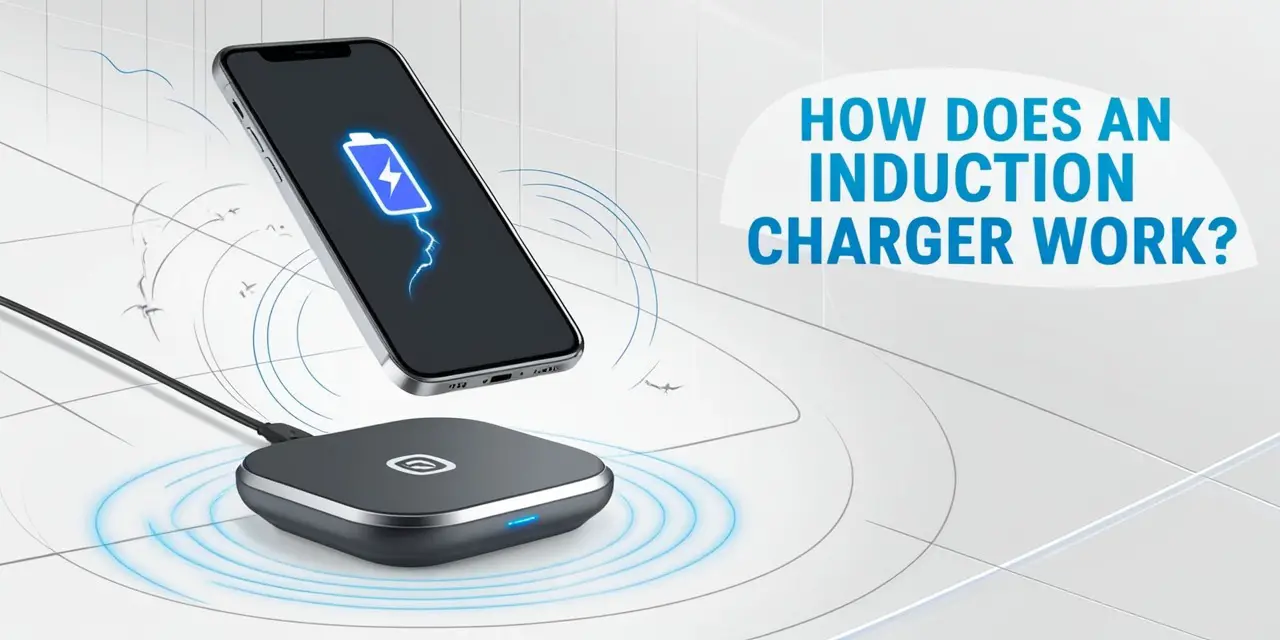
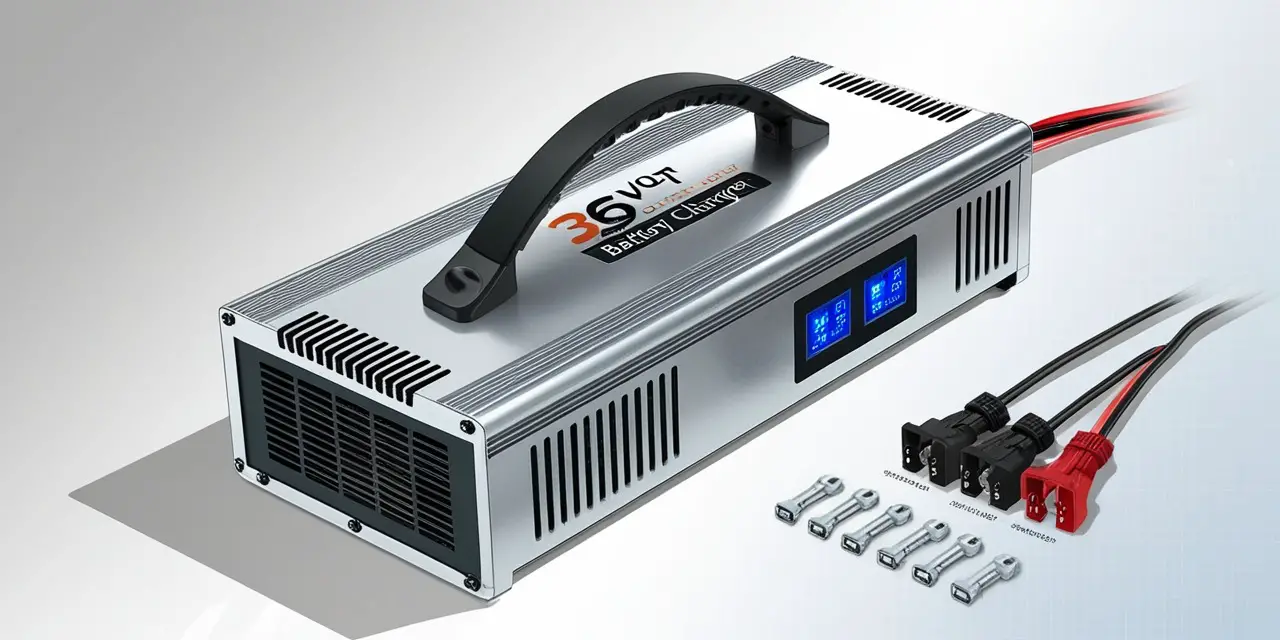
While you are in the process of making the repair, or while you wait for the expert to help you, you can try using another charger. Wireless chargers or battery packs can work as a temporary power source and so you can keep using your device.
Going through this process gives you the knowledge to carry out simple repairs of gadgets themselves, improving your do it yourself tech skills, and helping you to avoid expenses hence saving time.
Troubleshooting Common Mistakes and Additional Tips
Even the best-laid plans can encounter challenges. Here are some common pitfalls and tips to ensure success:
- Mistake 1:Using excessive force. Always apply gentle pressure to prevent additional damage. If you feel resistance, reassess your approach to avoid pushing the piece further into the port.
- Mistake 2: Ignoring unsuitable tools. Improvised tools like paperclips can cause damage. Stick to safe options like tweezers or toothpicks designed for precision work.
- Mistake 3: Overlooking a clean work area. Small components can easily get lost on cluttered surfaces. Work on a clear, well-lit table to maintain control and visibility throughout the process.
Should your attempts fail, don’t hesitate to seek professional advice. A repair specialist has the tools and expertise to safely resolve the issue without risking further damage.
When to Seek Professional Help
DIY isn’t always the answer. Recognizing when to call in the pros can save your device:
- Sign 1: Visible damage to the port—bent pins or debris that can’t be removed safely.
- Sign 2: Multiple unsuccessful DIY attempts. Prevent additional complications by consulting a specialist.
- Sign 3: Uncertainty about the process. If you’re unsure or nervous, professional intervention provides peace of mind.
When experienced engineers troubleshoot the problems, your iPad is recovered however, there is no performance loss whatsoever. They can also examine for problems that might be hidden such as taking care of the broken charger.
Conclusion
Dealing with a damaged iPad charger should be done as soon as possible because this will help you save your device and its functionality. As you have learned in this guide, self-repair is a practical solution but not the ultimate one; and it is also important to know when you should call a professional to do the work. Service manual owners should also be careful not to succumb to complacency; whether it is doing the repairs themselves or getting an expert to sort out the issues and repairs in the device improves the longevity and usability of the device. To get familiarized with more tutorials on repairing gadgets and their tips, visit our website or become a member of our tech fan base. Your next fix might just be a click away!


Leave a Reply