
Find out how to properly and quickly charge your Vivitar 426 HD action camera battery. This guide discusses the different ways to charge your battery, how long you can use the camera and some of the most common problems charging the camera. Make sure that you get the proper performance the vivitar 426 hd camera can give you.
Power Up Your Photography with the Vivitar 426 HD Charging Guide
In this age of technology where photography is most desired and has become an art, it is equally important to also get the right images and techniques. To the amateurs and the technologically inclined people, the vivitar 426 hd opens up plenty of opportunities at cheap rates but like any other electronic devices its efficiency and effectiveness is directly related to the charging requirements. This guide is very will research everything one would want to know about charging a vivitar 426 hd so that one is always mentally read to grab an opportunity to take a photograph.
Understanding the Vivitar 426 HD’s Battery
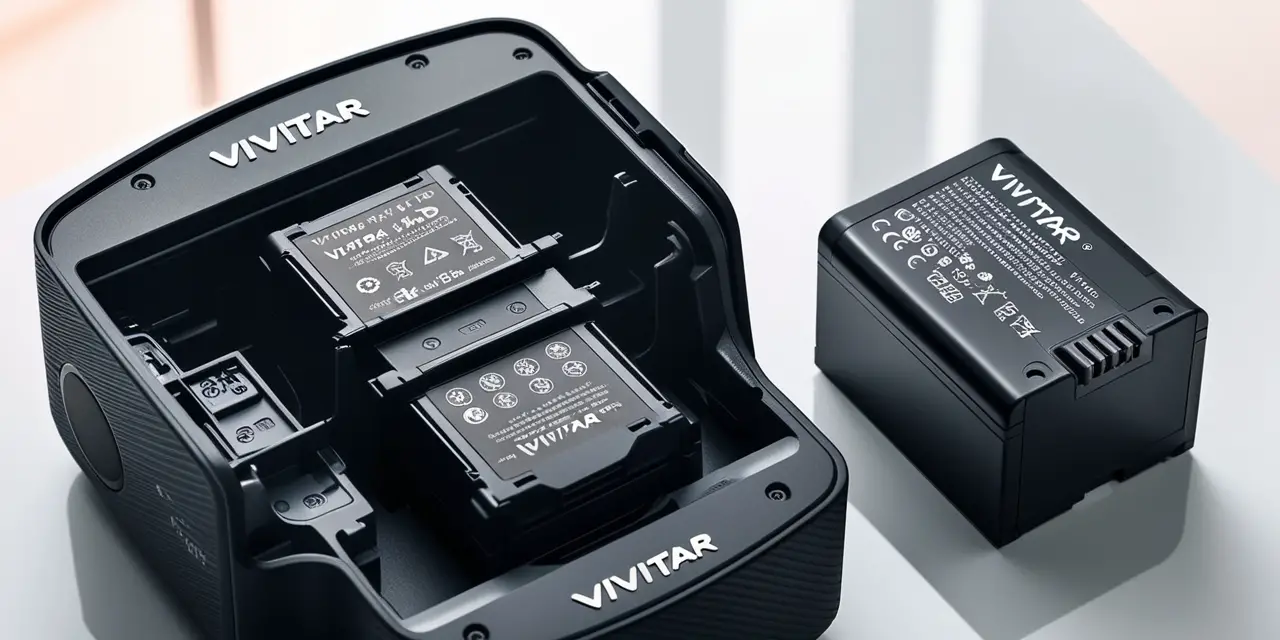
Let’s start by having a good look at the battery manufactured for your Vivitar 426 HD to understand the solutions of Charging in greater detail. This camera has a lithium ion rechargeable cellular battery which is quite advantageous in relation to the other disposable cellular batteries such as alkaline or nickel metal hydride batteries when focusing on reusage as a key aspect. The ratio of volume to energy is advantageous for Lithium Ion because it enables smaller batteries. Also, they are over 2-3 times more durable than normal batteries and do not experience the memory effect that causes them to leak – thus making them perfect for day to day applications.
That said, not everything is perfect and the most important thing essence to keeping a lithium-ion battery in its prime is following the right procedures and charging instructions.
Get to Know the Vivitar 426 HD
The Vivitar 426 HD is a compact digital camera that offers some good features and at the same time is quite cheap. Considering its HD video recording and respectable megapixels, it appeals to novice photo takers and experienced ones looking for a secondary camera as well. The battery also stands out since it is a rechargeable type which is appealing in terms of ease and durable use. The first thing that has to be understood with this camera is the requirements regarding the power needs of the equipment which is necessary to look after in order to give the equipment durability in all conditions.
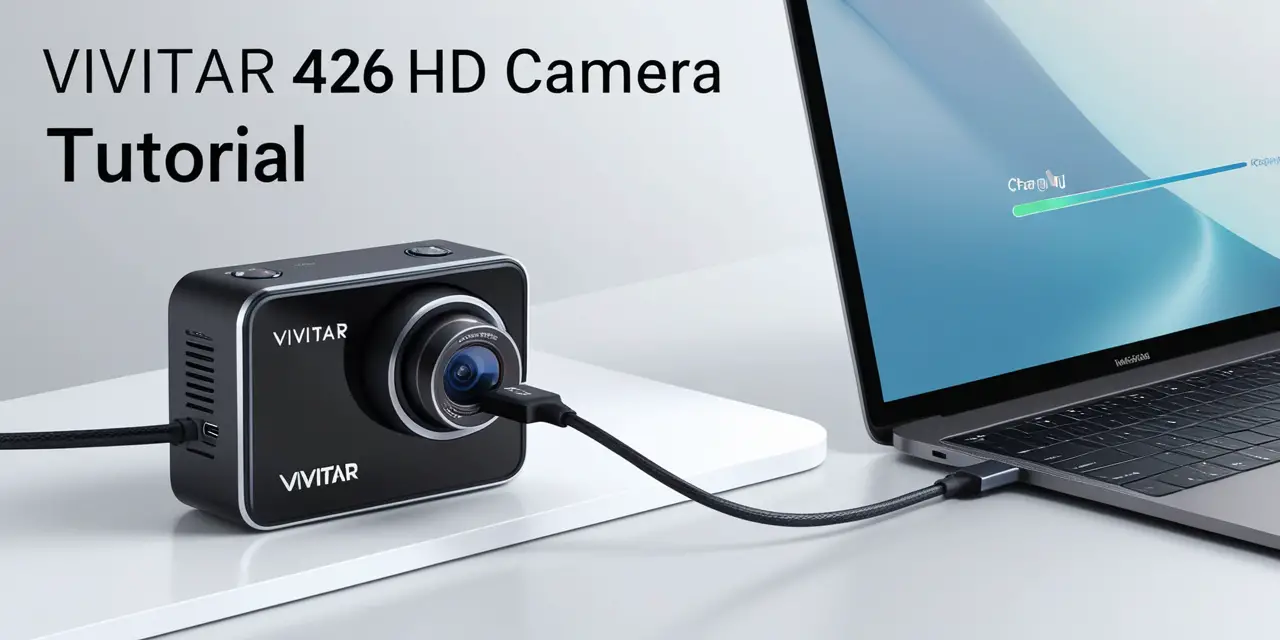
Charging Your Vivitar 426 HD
Now that you’re familiar with the Vivitar 426 HD’s battery and features, it’s time to learn how to effectively charge your device. Proper charging practices not only prolong the battery’s lifespan but also ensure you have sufficient power for all your photographic ventures.
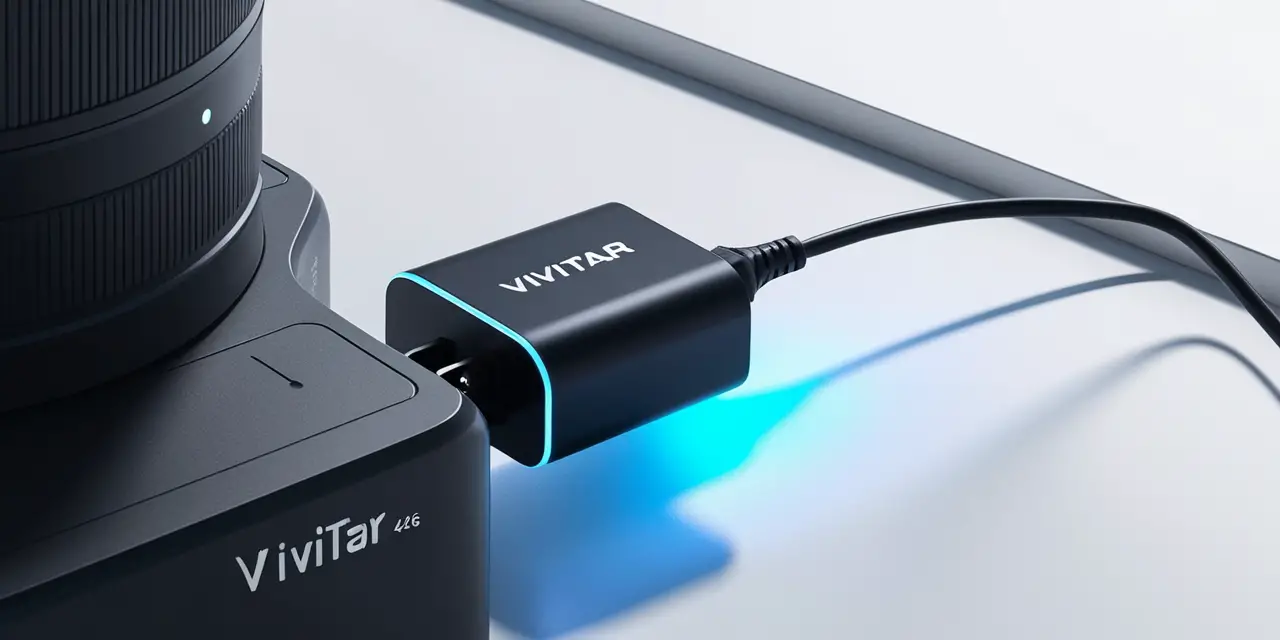
- Using the Included Charger: It is recommended to use the charger that comes with your Vivitar 426 HD. This charger is specifically designed to align with the camera’s power requirements, providing the optimal voltage and current for safe charging.
- Charging Time: Allow approximately two to three hours for a full charge, depending on the battery level when you begin. Avoid overcharging the battery by removing it from the charger once full. Most chargers have an indicator light that turns off or changes color to signal when charging is complete.
- Maintaining Battery Health: For the longevity of your lithium-ion battery, it’s advisable to avoid letting it discharge completely before recharging. Instead, aim to charge when the battery level drops to around 20-30%.
- Temperature Considerations: Charge your camera in a cool, dry place. Extreme temperatures, whether hot or cold, can negatively affect the battery’s performance and lifespan.
By following these guidelines, you’ll ensure your Vivitar 426 HD remains powered and ready for all your photography needs. With a well-maintained battery, you can focus on capturing the world through your lens without worrying about losing power at crucial moments.
Best Practices for Charging
If you have a Vivitar 426 HD and want your battery to reach the maximum longevity while having your device ready for a photograph session at any time, it is essential to charge it correctly. Therefore, it is suggested to always use the charger which has been supplied with the package. Any other third-party charger may provide an insufficient power supply or could potentially harm the battery. Thereafter, the camera is plugged into the charger via a USB providing a dependable source of power throughout the process. Usually a red flashing light whilst in charging will be evident. It is preferable, however, to permit the battery to fully charge up before detaching it, this is to allow it to live and operate more effectively. As a result of repeatedly doing these actions, you will use less battery power during your photograph taking operations.
Troubleshooting Tips for Common Charging Issues
There are a handful of issues you might come across even if every best practice is followed. If your camera doesn’t seem to charge, check to see that there is power in the first place, and that everything is well connected. In some cases, this is caused by a faulty USB cable which can be resolved by testing another cable. Also, you might have to replace the battery if it does not seem to charge, as it may just be battery wear and tear. Check battery life since increased usage would mean over heating while charging, which could also suggest battery replacement. Knowing these troubleshooting steps will enable you to resolve problems efficiently and reduce the amount of time in which your camera is not in use.
Exploring Alternative Charging Methods
If you’re someone who travels a lot, it is not always practical for you to go around and charge your devices. The good thing is that there are different ways to keep your Vivitar 426 HD charged. Portable battery packs are comforting as one can charge their camera from anywhere. There is also the option of solar chargers which can be a useful way to get power. Always make sure that any alternate chargers are suitable for the camera model you have to avoid any issues. This increasingly expands the horizons for users and ensures that no power restrictions would come in the way of their photography.
Wrapping Up and Encouraging Community Engagement
In conclusion, it must be stated that learning how to charge your Vivitar 426 HD properly should be of utmost importance when trying to get the most out of this multi-purpose camera. A proper charge not only increases the battery’s life, but also boosts the device to do what you bought it for- which is to take beautiful breathtaking pictures. We encourage you to share your charging experience with the Vivitar community in the comments section below. Be it a tips for some creative charging setup, or whether you managed to troubleshoot a common problem, your suggestions may be helpful to other photographers who are experiencing troubles charging their Vivitar 426 HD. We boost individual creativity to the level that we are able to help each other find beauty around us and capture this beauty in a picture frame.


Leave a Reply